I came across this website a few years ago while looking for a place to pick fruits for canning. http://www.pickyourown.org. While perusing through the website, I found a RECIPE for Pumpkin pie made from real pumpkins. Really?? I always thought pumpkin pie came in an orange can, you added some other stuff, threw it all into a pie crust and viola.....Pumpkin Pie! NO WAY! This is the real deal and I will NEVER make Pumpkin Pie from a can EVER again.
So to start lets gather some ingredients.
- 1 Pumpkin Pie Pumpkin
- 1 C. Sugar
- 1.5 tsp ground cinnamon
- 1 tsp ground cloves
- 1 tsp ground allspice
- 1/2 tsp ground ginger
- 1/2 tsp ground nutmeg (this is NOT in the Pick Your Own recipe but I like it)
- 1/2 tsp kosher salt
- 4 large eggs (fresh from the hen house at my house)
- 1.5 cans (12 oz each) of Nestle Carnation Evaporated Milk
- 1/2 tsp vanilla extract (I use Mexican Vanilla because I think it has a wonderful flavor)
- 3 C. pumpkin Goop (This will be step one. Instructions to follow)
Next, I gather all of my Equipment.
- A sharp, large serrated knife
-
an ice cream scoop, large metal spoon or metal measuring cup to scoop pumpkin
Cuisinart Smart Stick Hand Blender
- large microwaveable bowl
- whisk
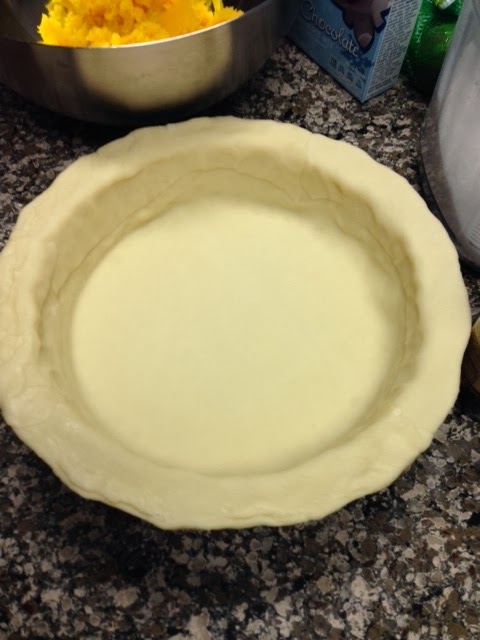
- 1 large (9-10 inch) deep-dish pie plate (I love the Pampered Chef Deep Dish Pie Plate)
- 2 pre-made Pie Crusts without the pan (I use the Pilsbury Readymade Unroll and bake)
- Tin foil
This may seem like a bit of work and the canned pumpkin version may seem like it is easier but honestly it is very easy and tastes much better. OK So Lets Get Started.
Grab that pretty pie pumpkin!


Whew! That is the hardest part. It is smooth sailing from here. Now we are ready to assemble all of those ingredients.

I like to pre-measure all of my spices so I can add them in all at once.

In a large mixing bowl, mix together all of the ingredients. Mix well with a whisk.

Pour into your prepared pie pan or pans. This recipe will completely fill the Pampered Chef Deep Dish Pie Pan.

This is where the tin foil comes in. The pie will be in the oven for a while so I place tin foil around the edges of the pie to prevent it from burning. If the tin foil will not stick, you can make a tin foil tent for your pie to making sure the foil does not touch the pie filling.
**TRICK Place a baking sheet on the oven rack and place the pie shell on the baking sheet before filling. This way you can fill the shell place the foil tent and close the oven without having to worry about walking with the filled shell and spilling on the edges like I did.

Bake at 425 for 15 minutes then reduce the temperature to 350 and continue to cook. Again cooking times will vary. I ended up cooking my pie for 1.5 hours at 350. Check your pie every 30 minutes to test for doneness. I use the toothpick method.
You can add some cute fall cutouts the last 15 minutes of cooking. I used my Pampered Chef Fall
Cutter set. They do not sell these any longer, however you can use any cookie cutters you have or use your imagination and create your own designs.

This truly is the best pumpkin pie I have ever had. It doesn't last long in our house. No Whipped cream required! Try it Im sure you will agree.
**Any extra Pumpkin Goop you have can be frozen and used to make another pie or can be used to make a pumpkin shake. YUM!
Ciao for now
Kris